
Pottery Barn Solid Wood Dining Table
Wondering how to protect a wood table without darkening this finish? I'm sharing what's worked for me to protect and seal our Restoration Hardware & Pottery Barn tables.
Over the past several years I've been asked time and time again whether I did something to seal and protect the Restoration Hardware and Pottery Barn wood tables in our kitchen. The answer is "yes" and the way that I chose to seal them is actually something I spent a lot of time researching and experimenting with before figuring out the best way to go about it. Today I'm sharing the details of how I sealed both of our wood tables including a step by step how-to and the products I used to get the job done! (post includes affiliate links; full disclosure statement available {here})
There are several different products you can successfully use to seal wood tables but one of the most important things to me was finding something that didn't significantly darken the natural color of my table or make it shiny. The first wood table we had in our kitchen is Restoration Hardware's Dumont dining table (it's no longer available but {this trestle table} is very similar):
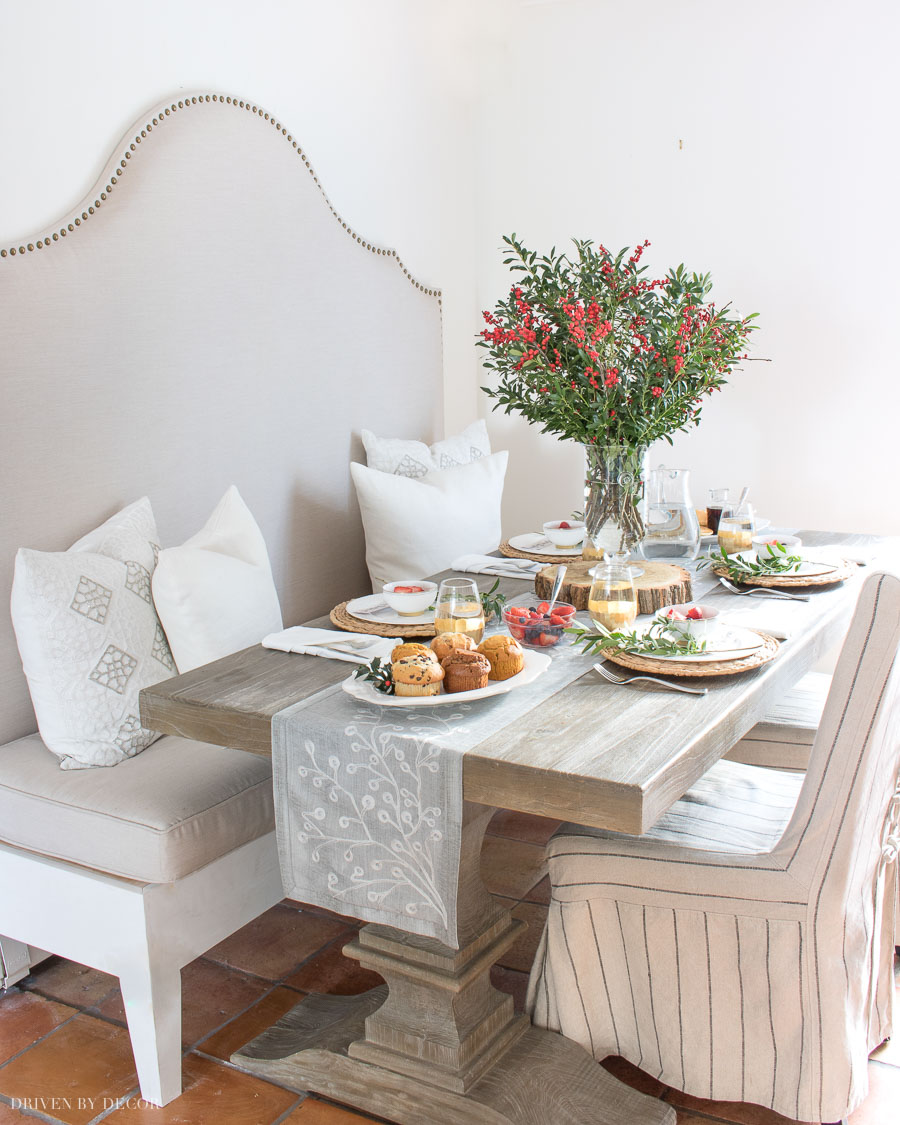
To try and figure out how to best seal and protect it, I bought a wood sample from Restoration Hardware to test (1) clear polyurethane and (2) Waterlox on it and see how they affected the look of the wood. As I thought they might, both sealers significantly darkened the color of my wood sample so I kept searching for a better solution. After more research and another wood sample experiment, I found that clear wood furniture wax was my best bet since it helps protect the wood without changing the color hardly at all.
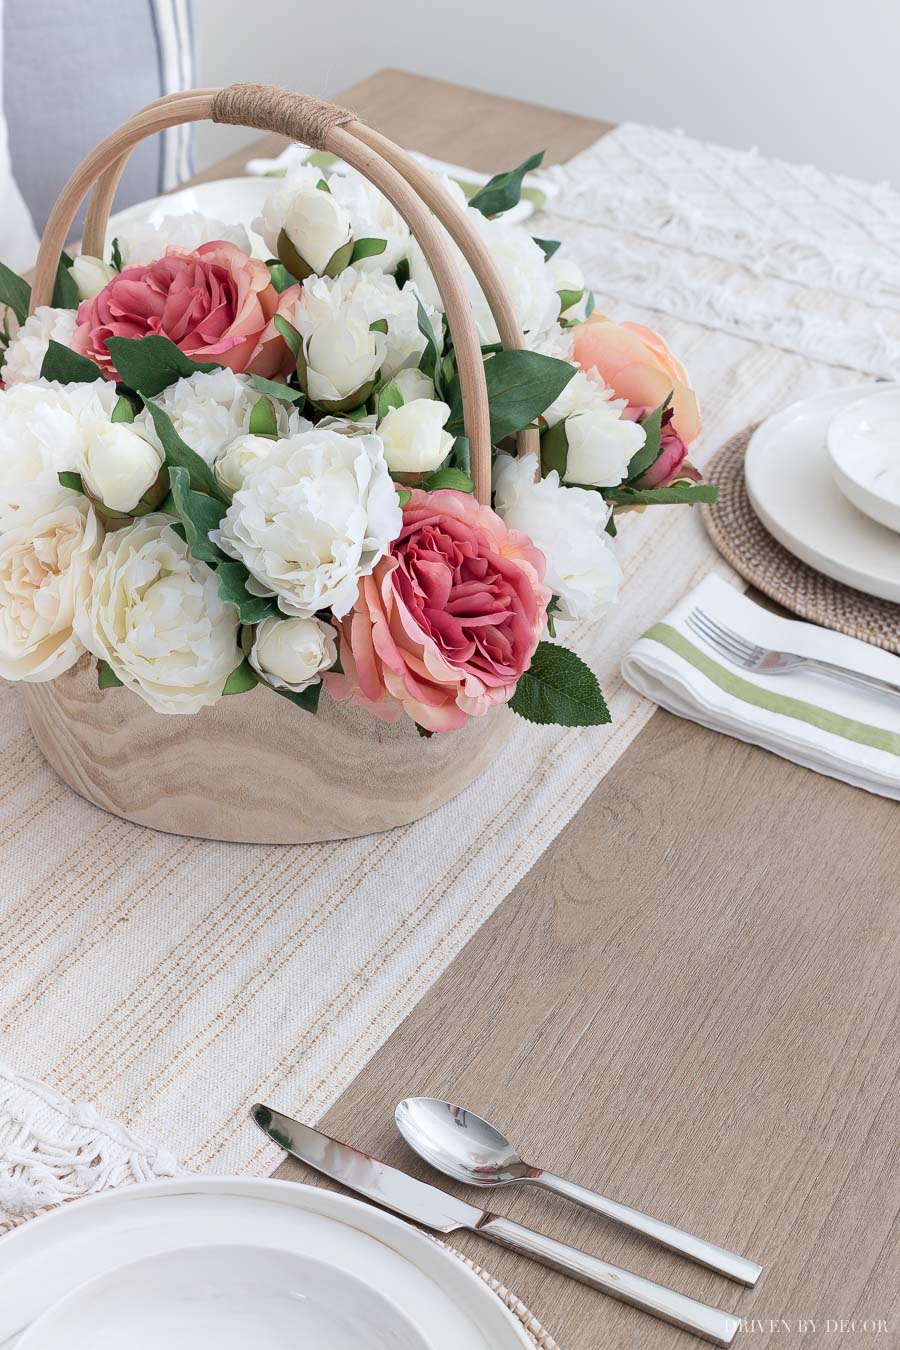
Using the exact steps and products I detail below, I sealed our table with wax and after using it for several years (first in our kitchen and then in our home office), there still isn't a single mark or stain on it!
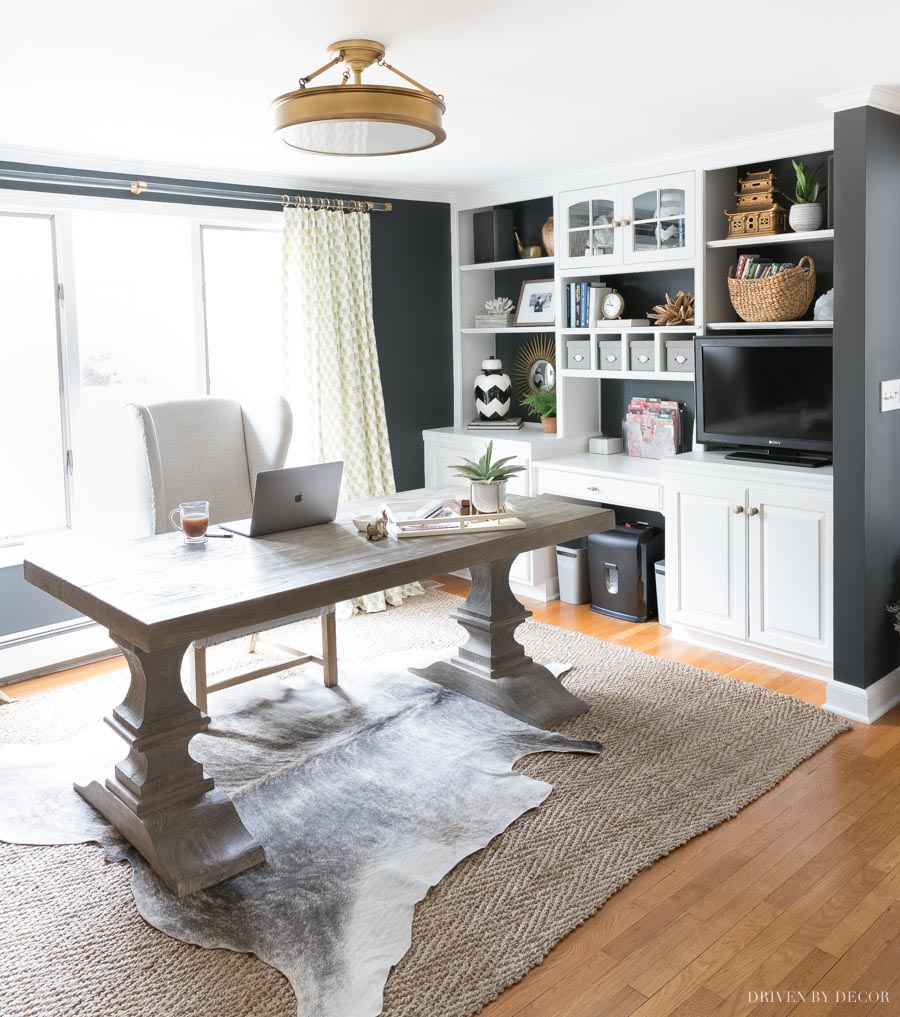
Ceiling light found {here} Find a full Source List for our home office {here}
Waxing our table worked beautifully for me but I do want to make the disclaimer that while we certainly have our share of spills at dinner but we're not terribly rough on our tables. We don't have toddlers banging utensils on them or little boys running Matchbox cars up and down them like some of you might. Polyurethane and Waterlox sealers DO offer more hardy protection than wax (you can read more about using Waterlox in {this post}) so you'll have to decide for yourself whether that extra protection is worth the trade-off of ending up with a much darker table. In my case, it wasn't!
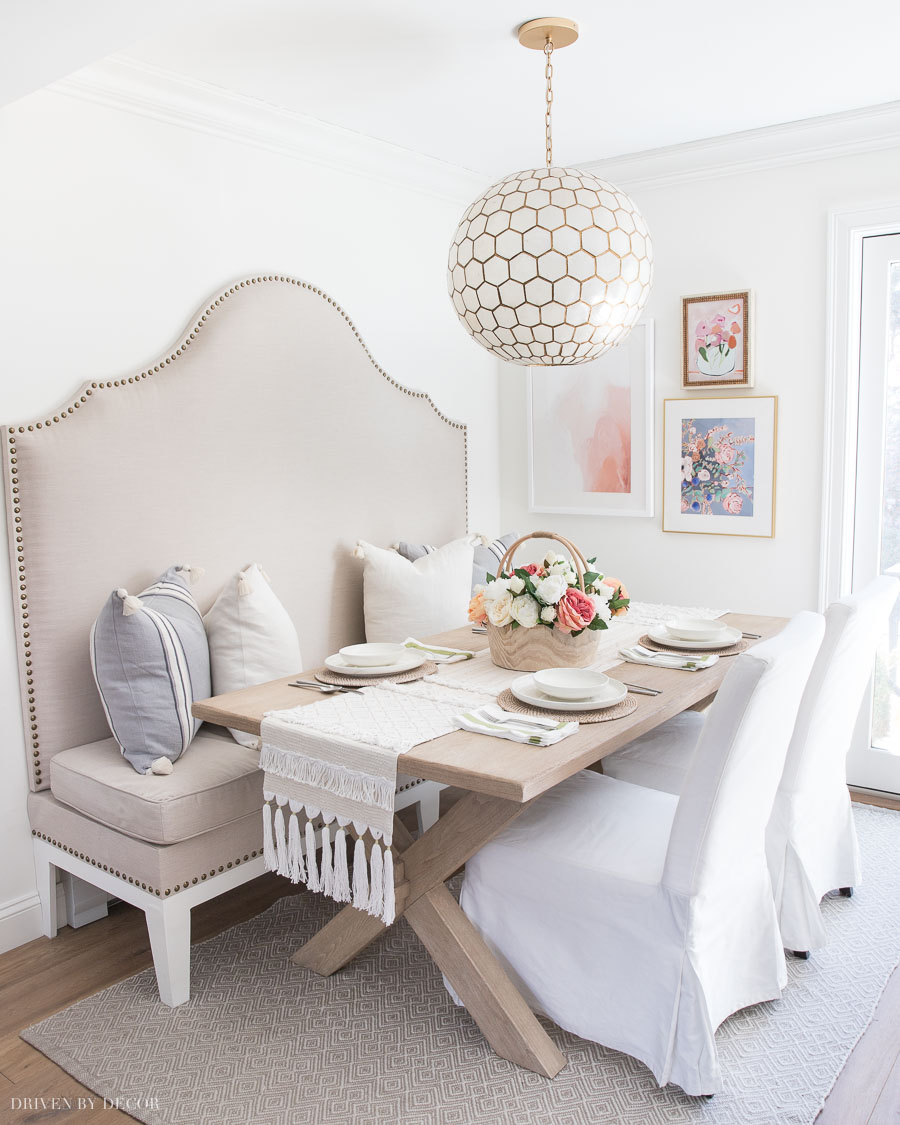
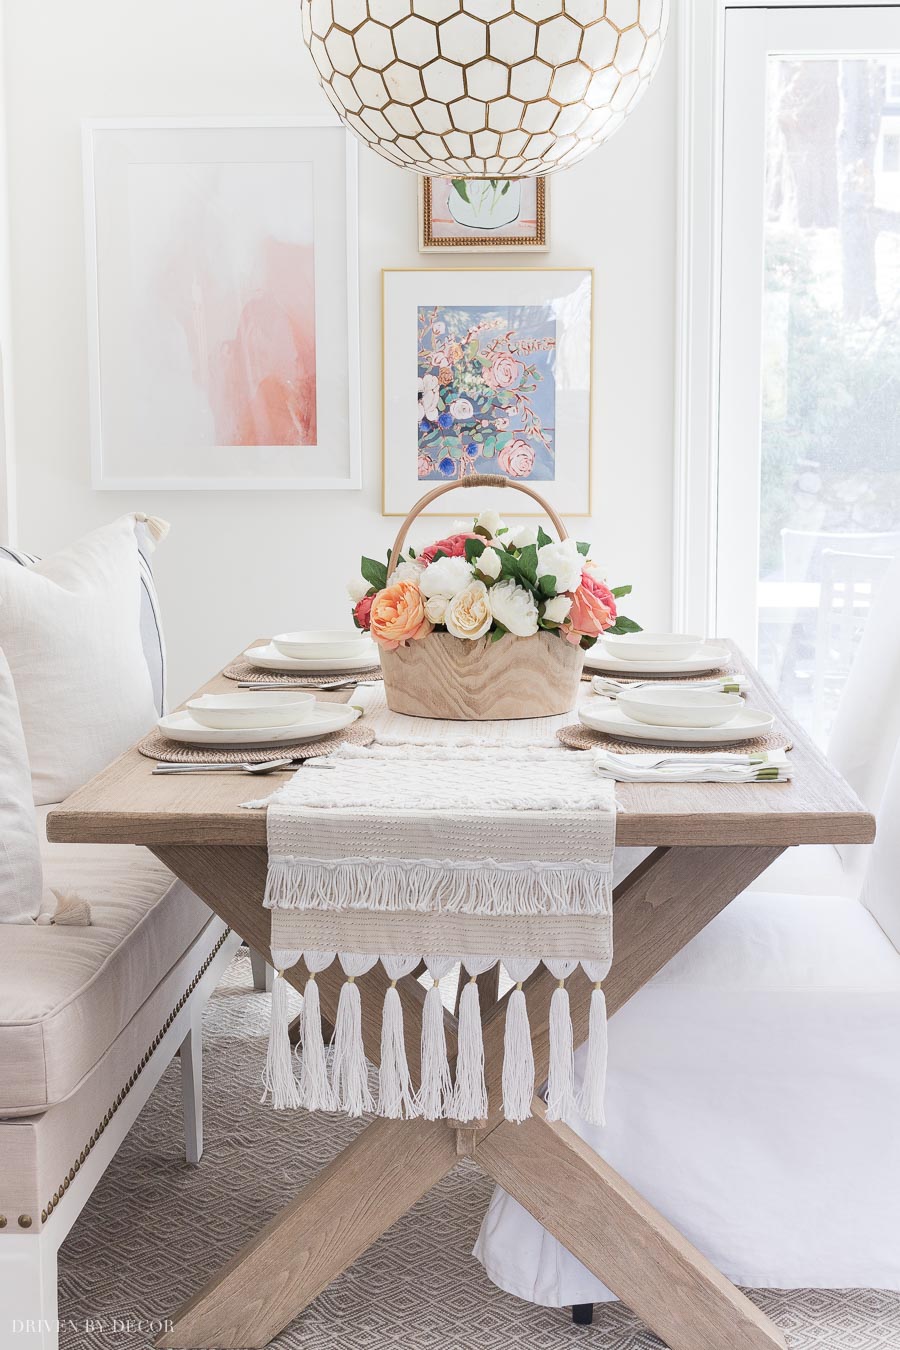
After remodeling our kitchen, I bought a new wood table for our kitchen (Pottery Barn's Toscana Dining Table available {here} – mine is the Seadrift finish) and sealed it the same exact way as our Restoration Hardware table, again with results I've been thrilled with:
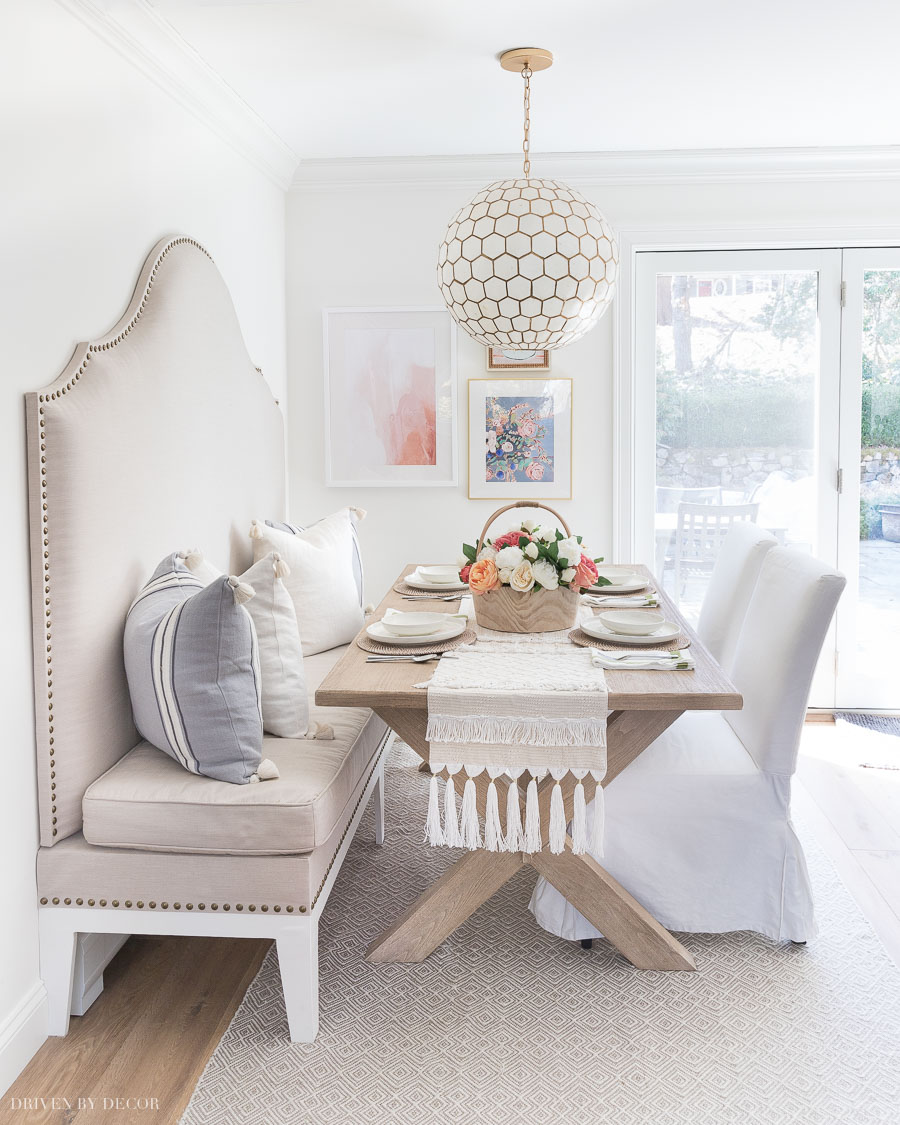
Sources: Capiz pendant | Geometric gray rug | Blue stripe pillow covers | Cream tassel pillow covers | Faux peonies | Rattan chargers | Large blush abstract framed art | Blue floral framed art | Pink floral framed art | Slipcovered dining chairs (similar) | Table runner no longer available
Here's the step by step of how to get the job done:
1. Clean Your Table
Wax will trap any dust or particles on your table so it's important to give it a good cleaning before sealing it. To clean mine, I mix a drop of clear dishwashing liquid into a bowl of warm water, dampen a microfiber cloth with it, wring out any excess, and wipe down the entire table.
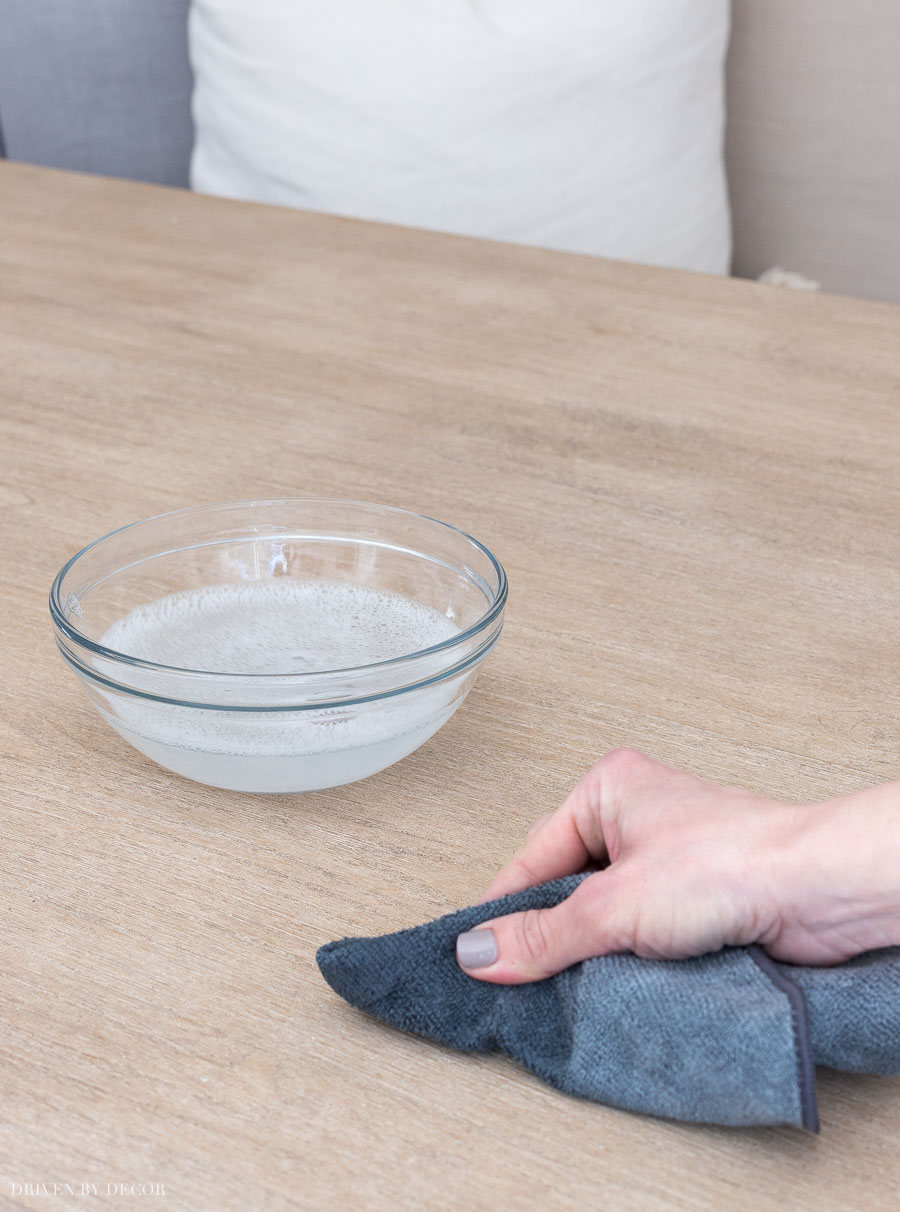
I follow up by wiping the table down with plain warm water, using a dry microfiber cloth to remove any excess water, and then allowing it to completely dry. Once dry, run a tack cloth such as one of {these} over the tabletop to make sure it's completely dust-free.
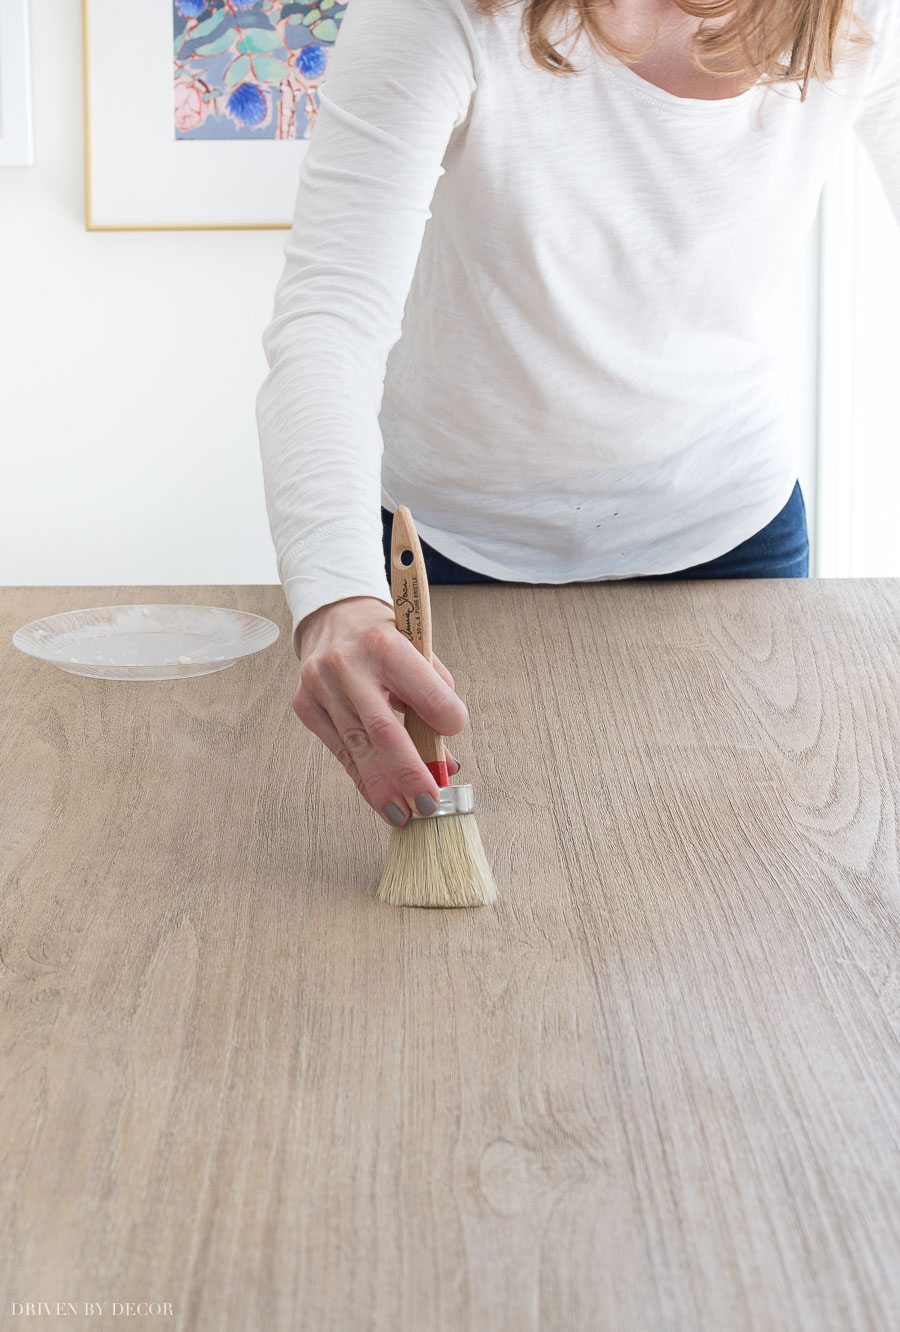
2. Get Ready with Your Wax & Waxing Brush
There are several brands of clear wax to choose from but some don't actually dry quite as clear as others. My favorite is Crystal Clear paste wax (available {here}) which is a soft wax that goes on easily and dries truly clear. If it is out of stock, {this wax} is a very similar carnauba based wax that should work the same. To apply the wax to your table, you can use a lint free cloth like an old t-shirt but a waxing brush like {this one} that has curved bristles works best. Prep for waxing by taking a scoop of wax out of the can and putting it on a plastic/paper plate. Then dab your waxing brush on the wax to very lightly cover the end of the bristles and offload any excess by dabbing it on a clean section of the plate:

You do NOT want too much wax on your brush/cloth – applying sparingly to create a thin coat is key!
3. Apply a Very Thin Coat of Wax
Apply a thin coat of wax to your table using your waxing brush in a back and forth motion in the direction of the grain of the wood. Use mild pressure as you apply the wax to work it in and work in small sections, covering each section before you move on to the next.
It's not uncommon to lose a few bristles from your brush while waxing so pay attention to any lost bristles and pluck them from your waxed table before it dries. Once you've coated the entire table (don't forget the edges!), use a lint free cloth to wipe off any excess wax, applying pressure with your clean cloth in a back and forth motion.
4. Let Wax Dry & Apply 1-2 More Coats
Let the wax dry completely (I let it dry overnight) and then apply a second thin coat in the same way as the first coat, again wiping off the excess and allowing it to dry. Repeat the process for a third coat. After your last coat of wax, you're done unless you want a shiny finish (I didn't want my table shiny so skipped this next step). In this case, once the last coat of wax is dry, buff your table with a clean cloth – the more you buff, the shinier the finish. Then simply wait 2-3 days for the wax to fully cure before putting your table to use!
That's it! To keep your table protected, it's recommended that you reapply a layer of wax every year or two. Honestly I never got around to it with our first kitchen table and it's been fine but it's definitely something to consider, especially if your table gets a bit more abuse than ours. I hope this answers most of the questions that you guys have about sealing our table but if not, ask away in the comments! Enjoy the rest of your weekend!

Pottery Barn Solid Wood Dining Table
Source: https://www.drivenbydecor.com/how-seal-protect-wood-dining-table/


0 Komentar